High precision 3D printing is complicated. But if you own a decent flatbed scanner, you’re already in possession of a very accurate measuring instrument. At least for sketching out certain kinds of shapes.
Reverse engineering rounded shapes and odd-angled corners isn’t straight forward (pun intended). Rulers and calipers only takes you so far, since real-world objects are hardly ever perfect squares or spheres. Creating accurate 3D models is sometimes very hard.
Remaking a broken lid
If you’re going to model true copies of broken parts for your DIY repairs, you will soon find out that you need more sophisticated tools. Unless you’re prepared for a filament-hogging trial-and-error approach where misprints is the rule rather than the exception.
When the plastic container for my Wilfa coffee grinder broke, I started a nice example project showing off my scanner method in FreeCAD . One of the hinges had cracked of the plastic lid, calling for a replacement.
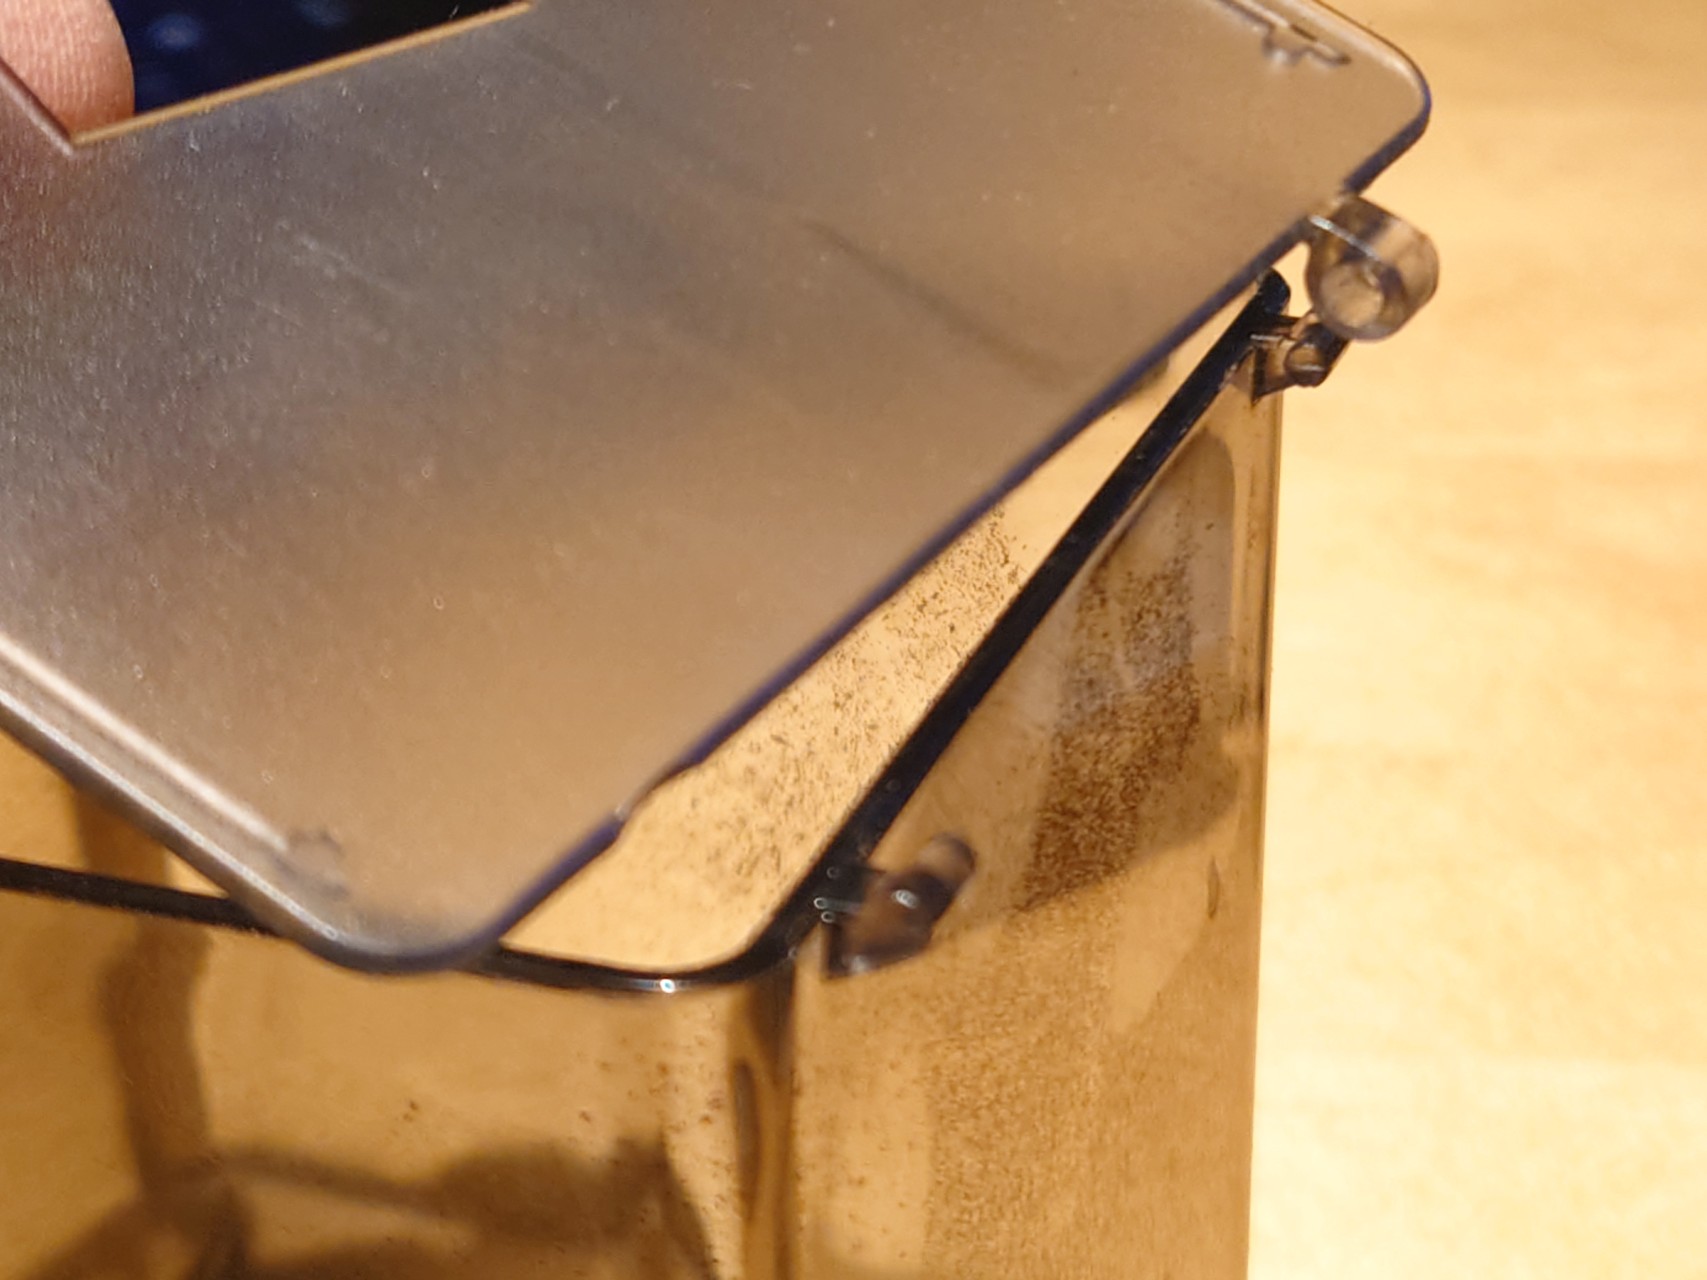
The lid is asymmetrical and curved, featuring notches and ridges along with an angled, partially rounded, off-center feeder slot. Reproducing such a part in a drawing program using only manual measurements is quite challenging.
An accurate 2D outline in 1:1 scale would certainly make my life simpler. Then I would only need to trace the path for the lid in a drawing program (for example InkScape) to do the magic.
Scanning the object
This is where my flatbed scanner comes into play. I put the object on the glass plate and scanned it. The scanner renders a perfectly planar image of one side of your object. I used the same technique on a recent repair project, and it worked very well.
As long as you keep the dpi settings throughout the process, you’ll end up with a 1:1 reproduction in fractions of a millimeter’s accuracy. That’s sufficient for creating pretty high precision 3D models.
The scanner produces a PDF or TIFF image. You will have to manually trace the outline of the model, then saving the path to a file format FreeCAD accepts.
Drawing the paths
You can use most vector graphics programs to do the job, provided that they can support DXF or SVG export. That is what you’d want for loading 2D drawings into FreeCAD.
That said, installing the image workbench for FreeCAD lets you use imported images directly as templates when drawing sketches. Thus you can skip using 2D drawing software alltogether.
Still, I prefer Adobe Illustrator when doing this kind of work, simply because it has always been one of my go-to tools. It also has great functionality for path smoothing and simplification, which is a good thing when doing manual tracing of bitmaps.
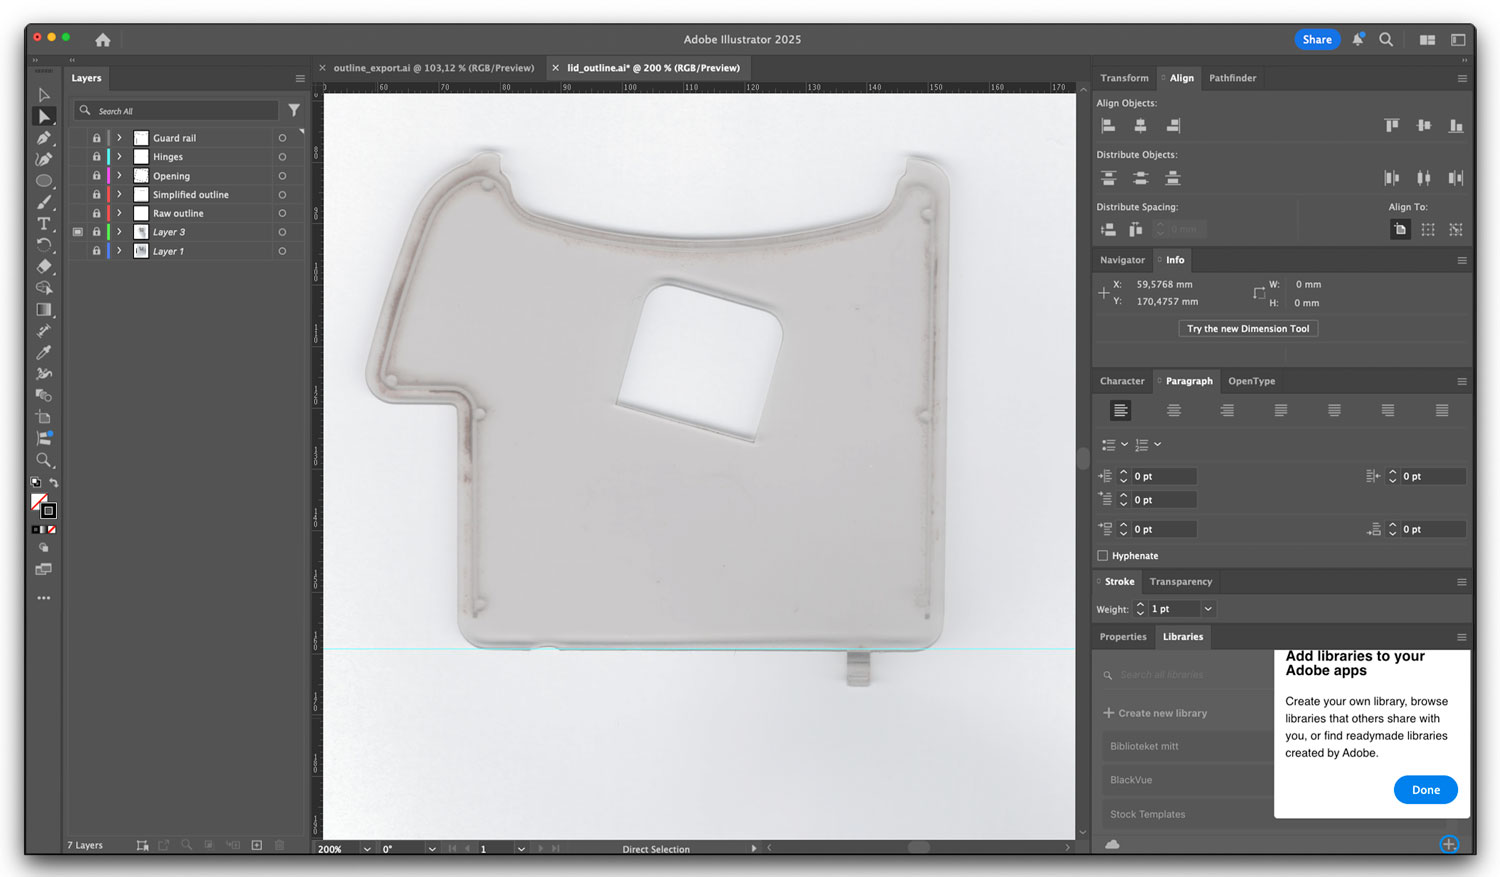
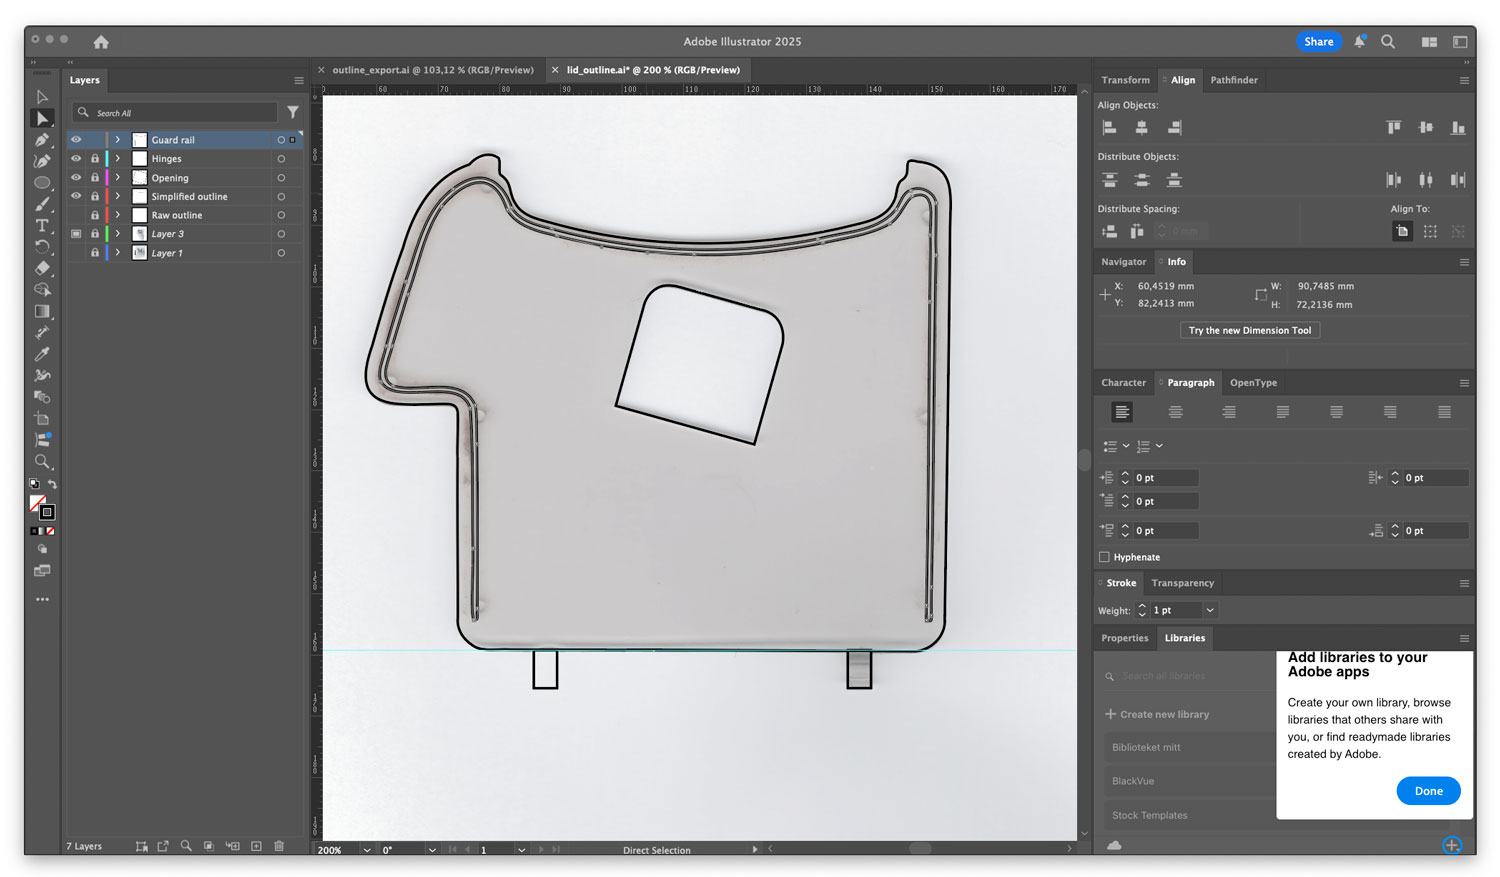
I imported the scanned image of the lid into Illustrator, putting it on a template layer.
The pen tool makes tracing the edges of the lid a breeze. The top hole, the guide rail and the hinges were next. I placed each feature on separate layers to keep them apart when importing the drawing into FreeCAD.
Manually drawn paths tends to be just simple chains of straight line segments. To improve transitions and appearance, I use Illustrator’s Object->Path->Smooth… tool.
It will analyze your shape and convert consecutive line segments to bézier curves, making paths smoother and more accurate. This is also how you can greatly reduce the overall number of anchor points.
Exporting to FreeCAD
You can export your vector graphics to a variety of formats from Illustrator, including DXF files. This is a common technical drawing format that FreeCAD reads and and converts to sketches.
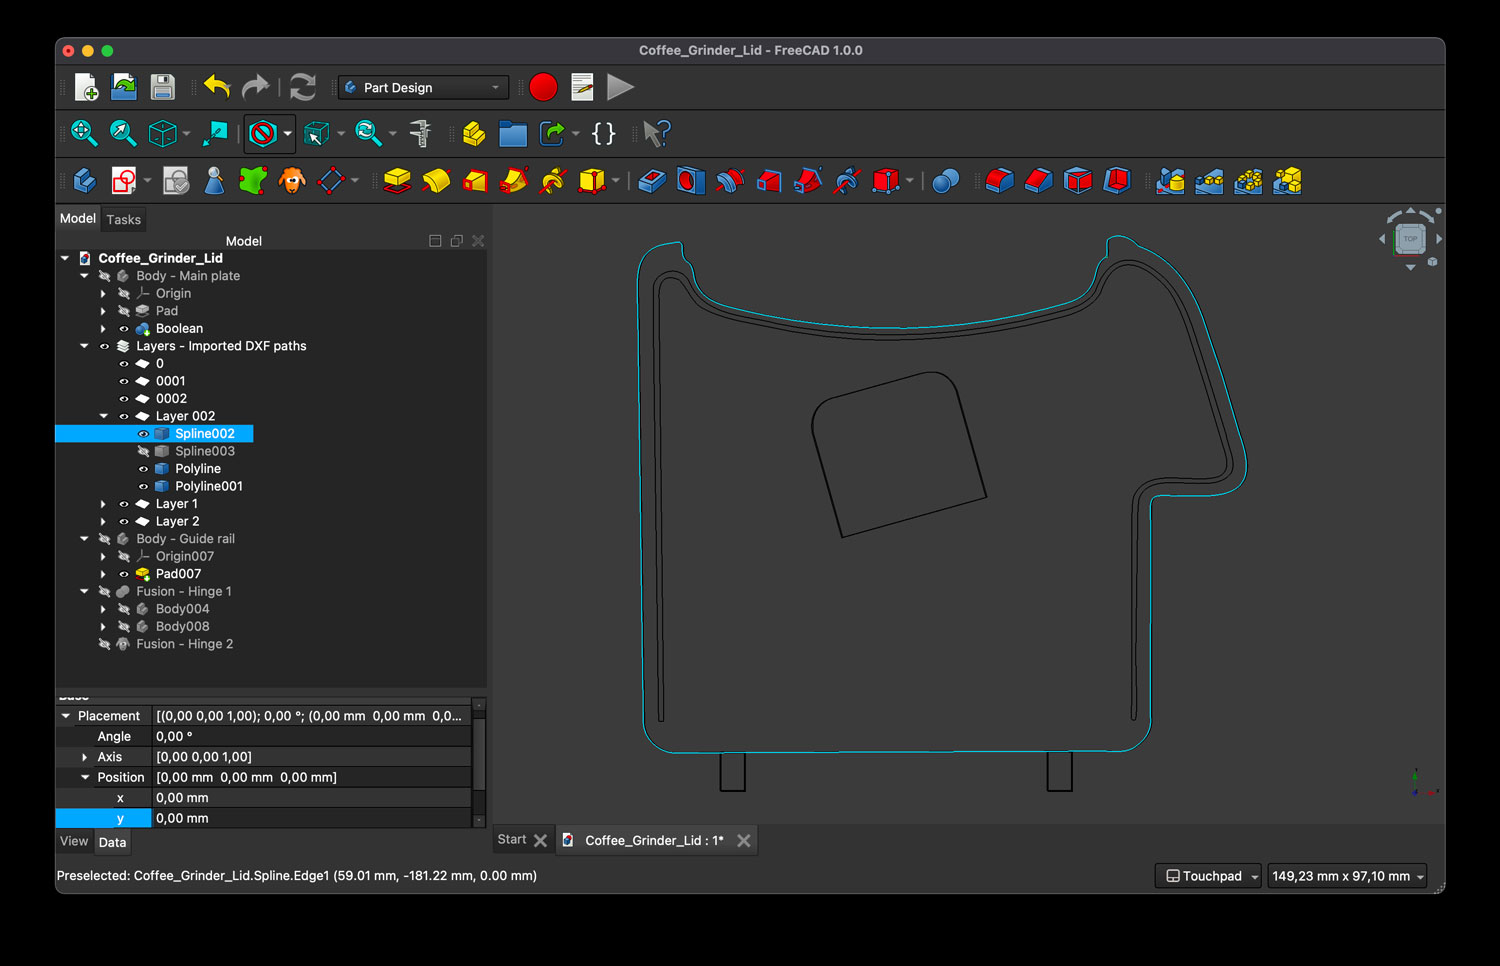
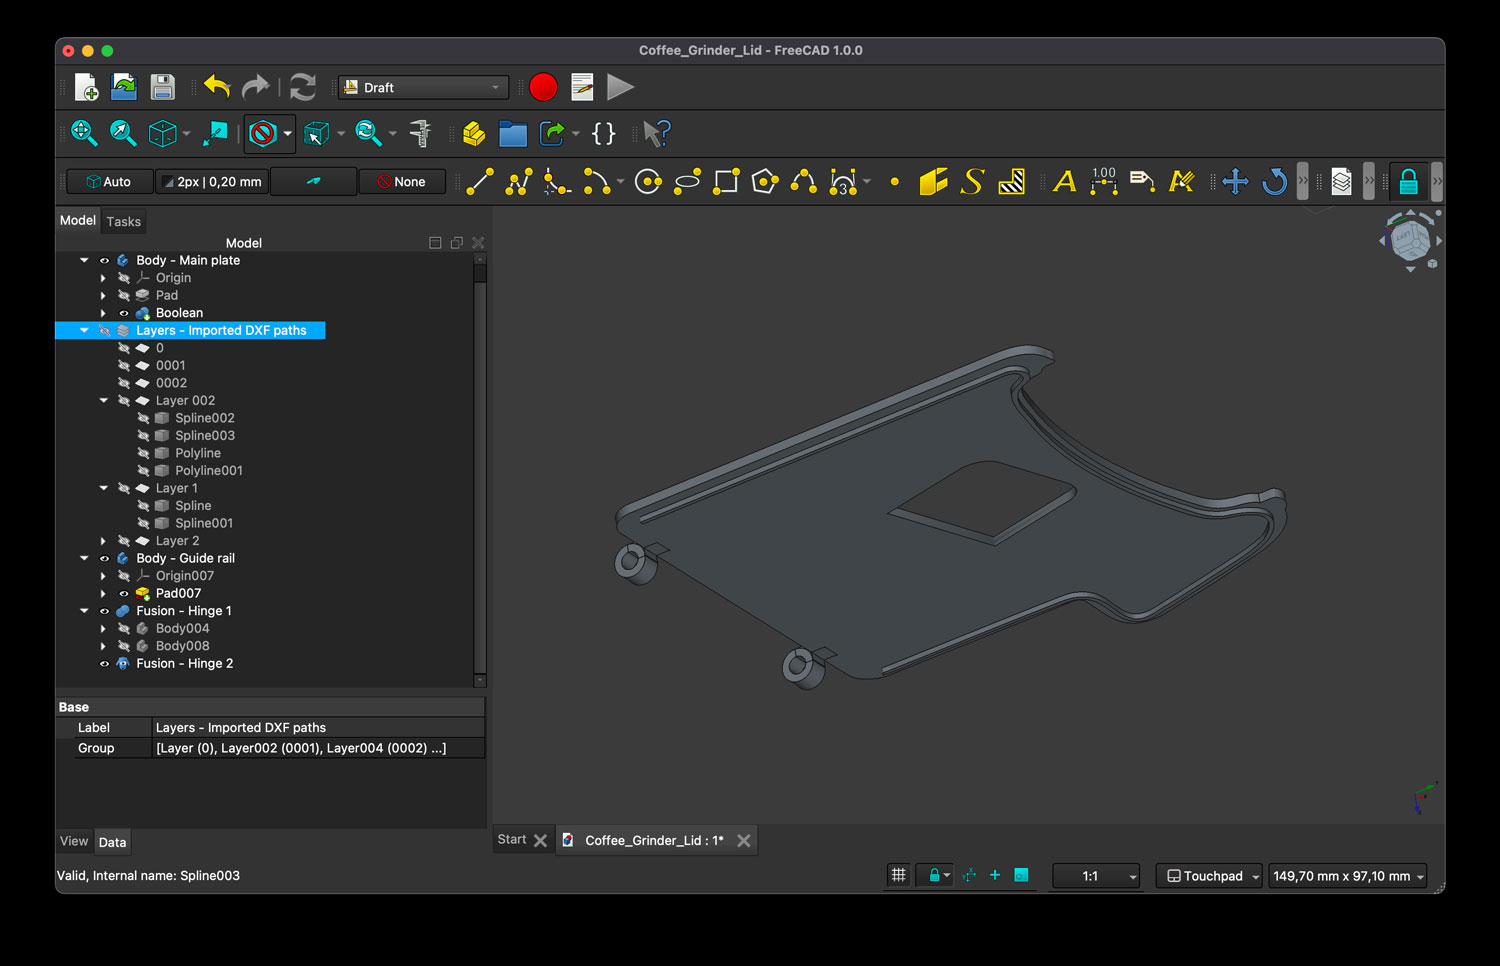
When you open a DXF file in FreeCAD, you will see it as as layers in the model tree view. Each layer consists of one or more geometrical features, representing the different shapes and paths imported from Illustrator.
Converting each feature to a sketch is hassle-free in the latest version of FreeCAD. You will find that functionality in the draft workbench. Afterwards, all you have to do is to constrain each generated sketch, before using them as sources for your model.
Printing the result
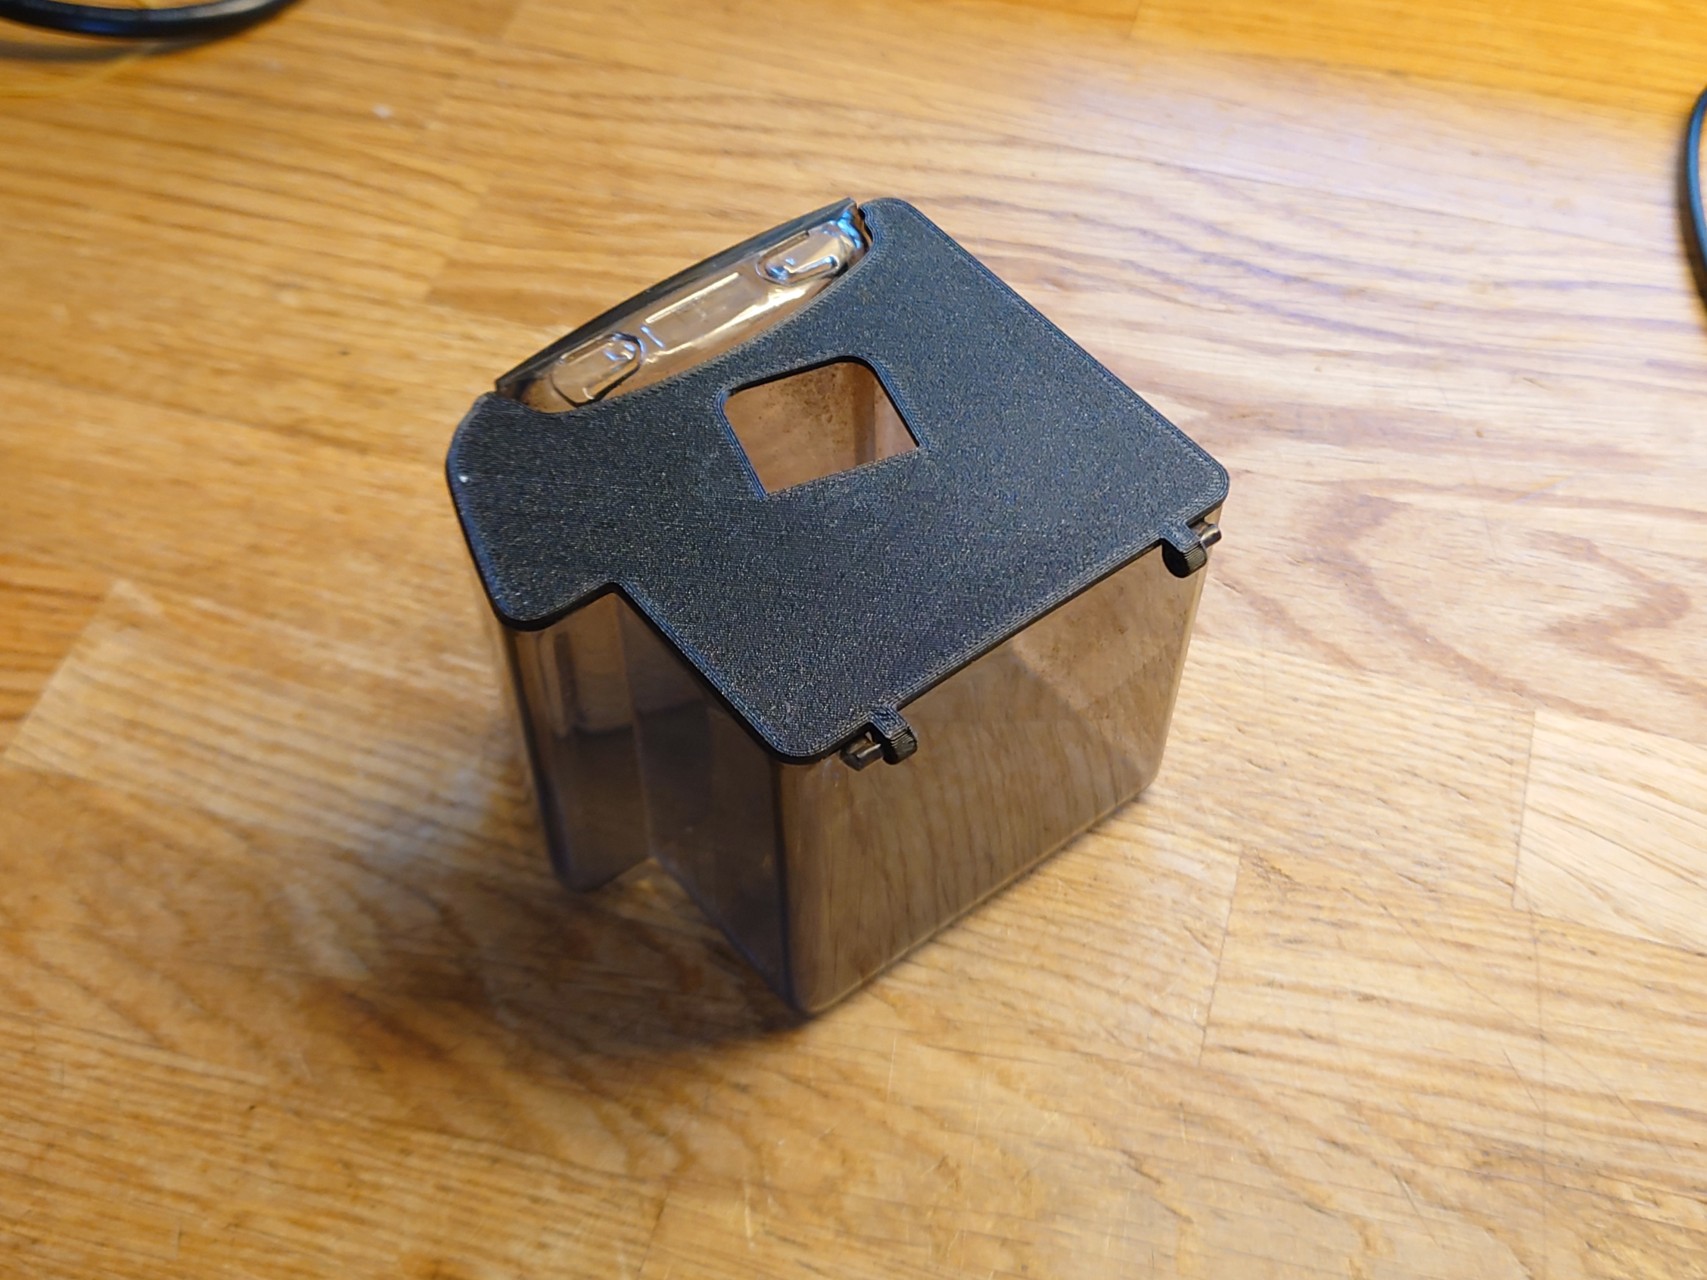
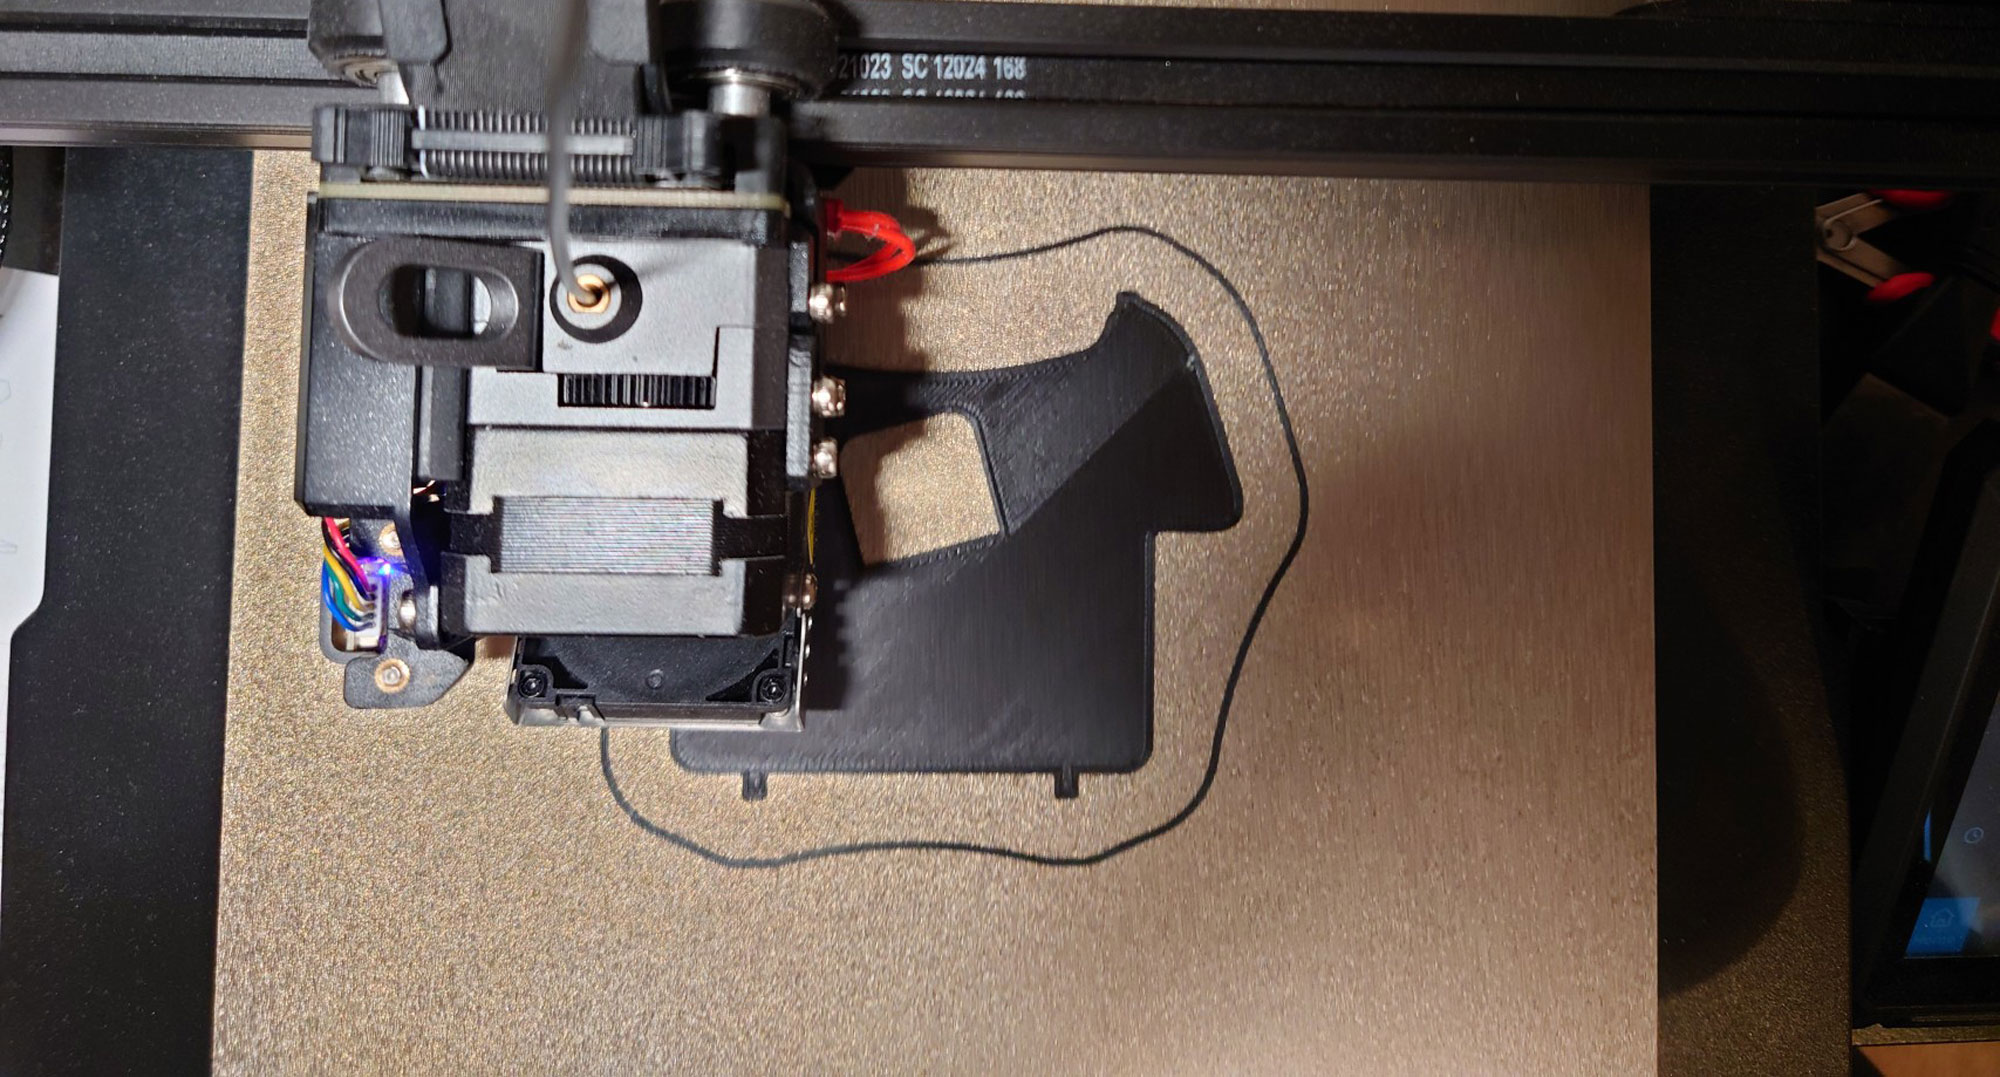
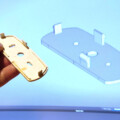
Frankly, I had to do a pair of test prints before getting it right, but the accuracy of the final print nearly blew my mind.
The 1:1 ratio from my scanner translated seamlessly through Illustrator into FreeCAD, resulting in an almost exact replica of the original lid.
I printed the model on my Ender 3 S1 Pro printer, using food safe PETG filament.
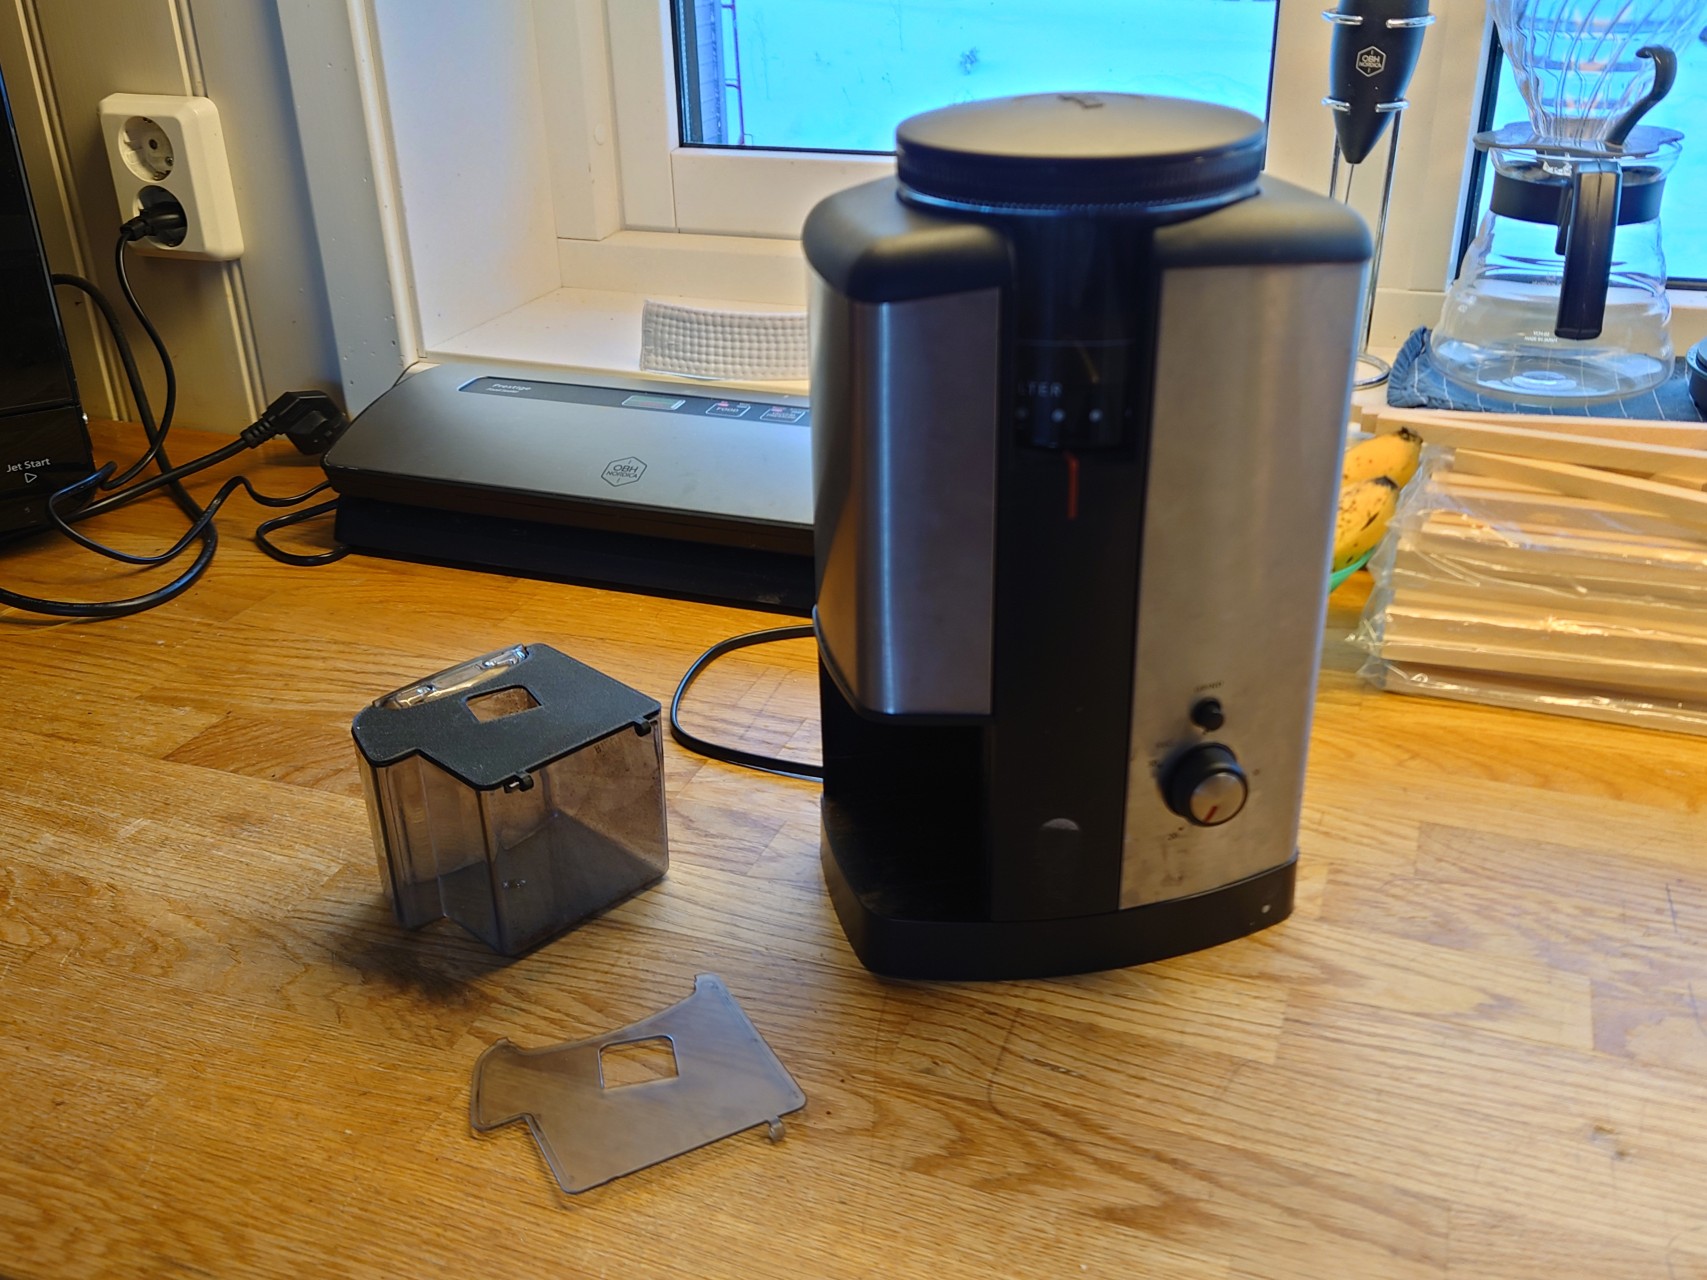
For anyone interested, I’ve uploaded the 3D model along with the 2D drawings to my profile at GrabCAD.


This is an excellent resource for 3D professionals. The quality standards mentioned here perfectly match what we look for in production-ready 3D models