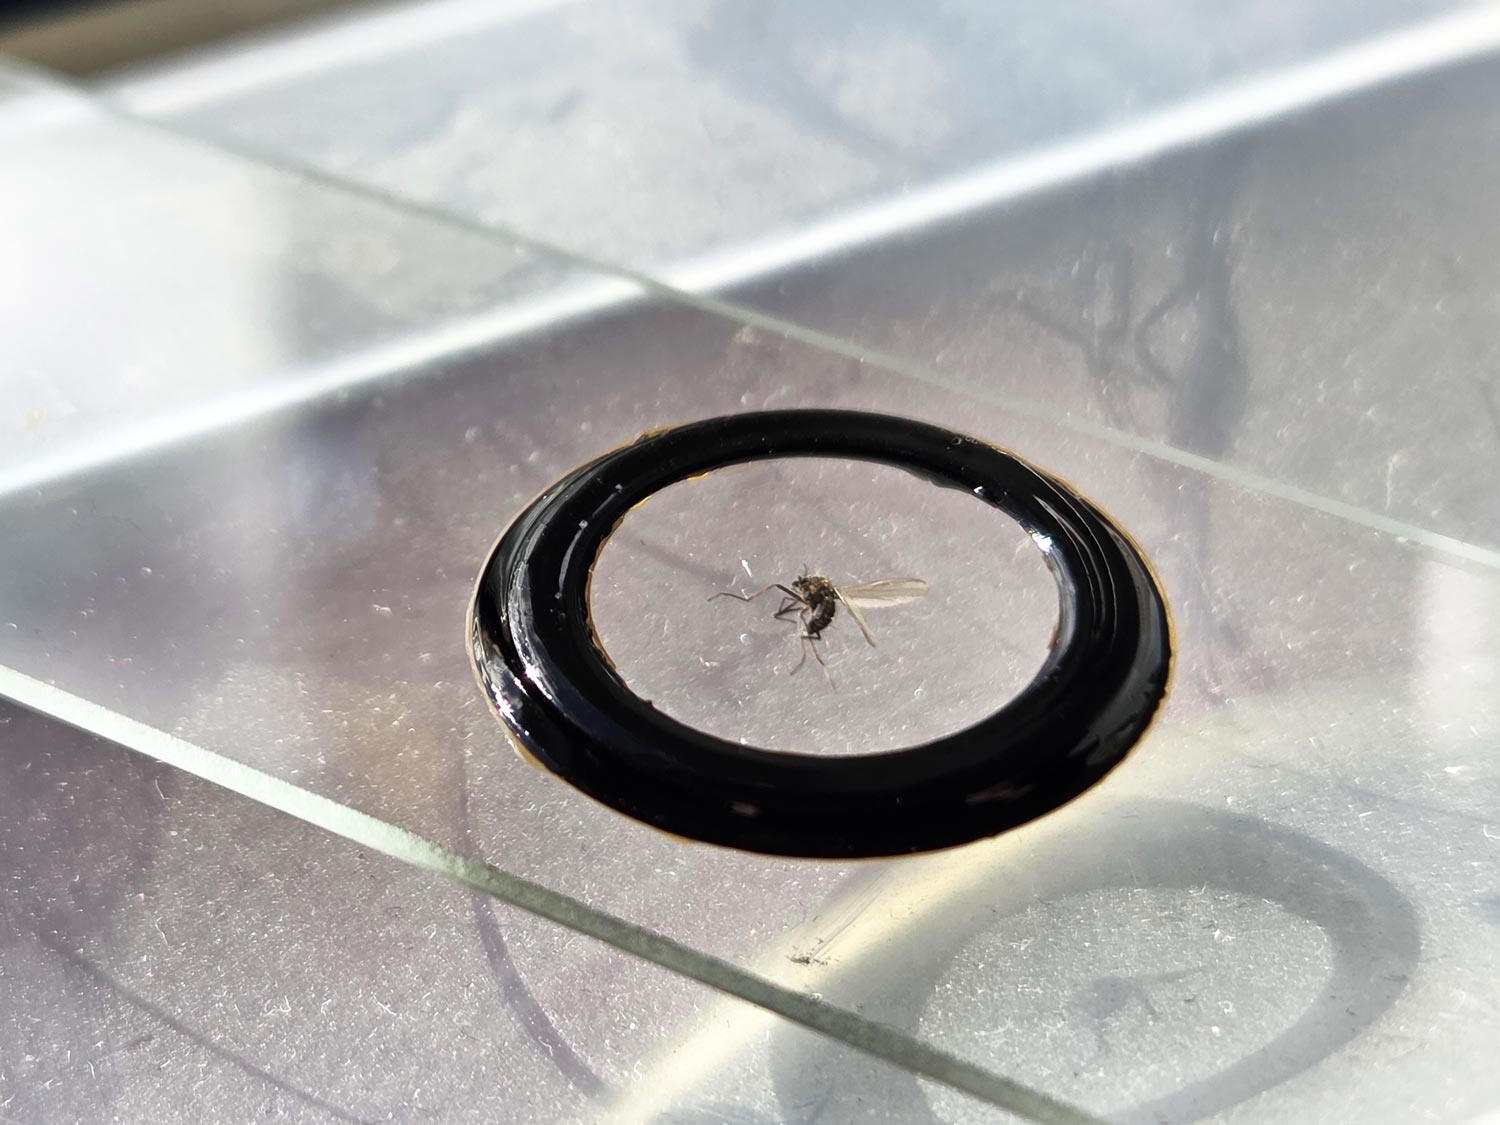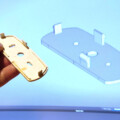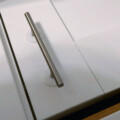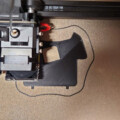
You can use your 3D printer to make nice coverslip wells for preparing thick specimens like insects and sand grains. Design and download a printable model of the spacer ring here.
Using a 3D printer to create slide wells for thicker specimens is a great idea that I got from one of the live videos at Microbehunter’s YouTube channel this summer.
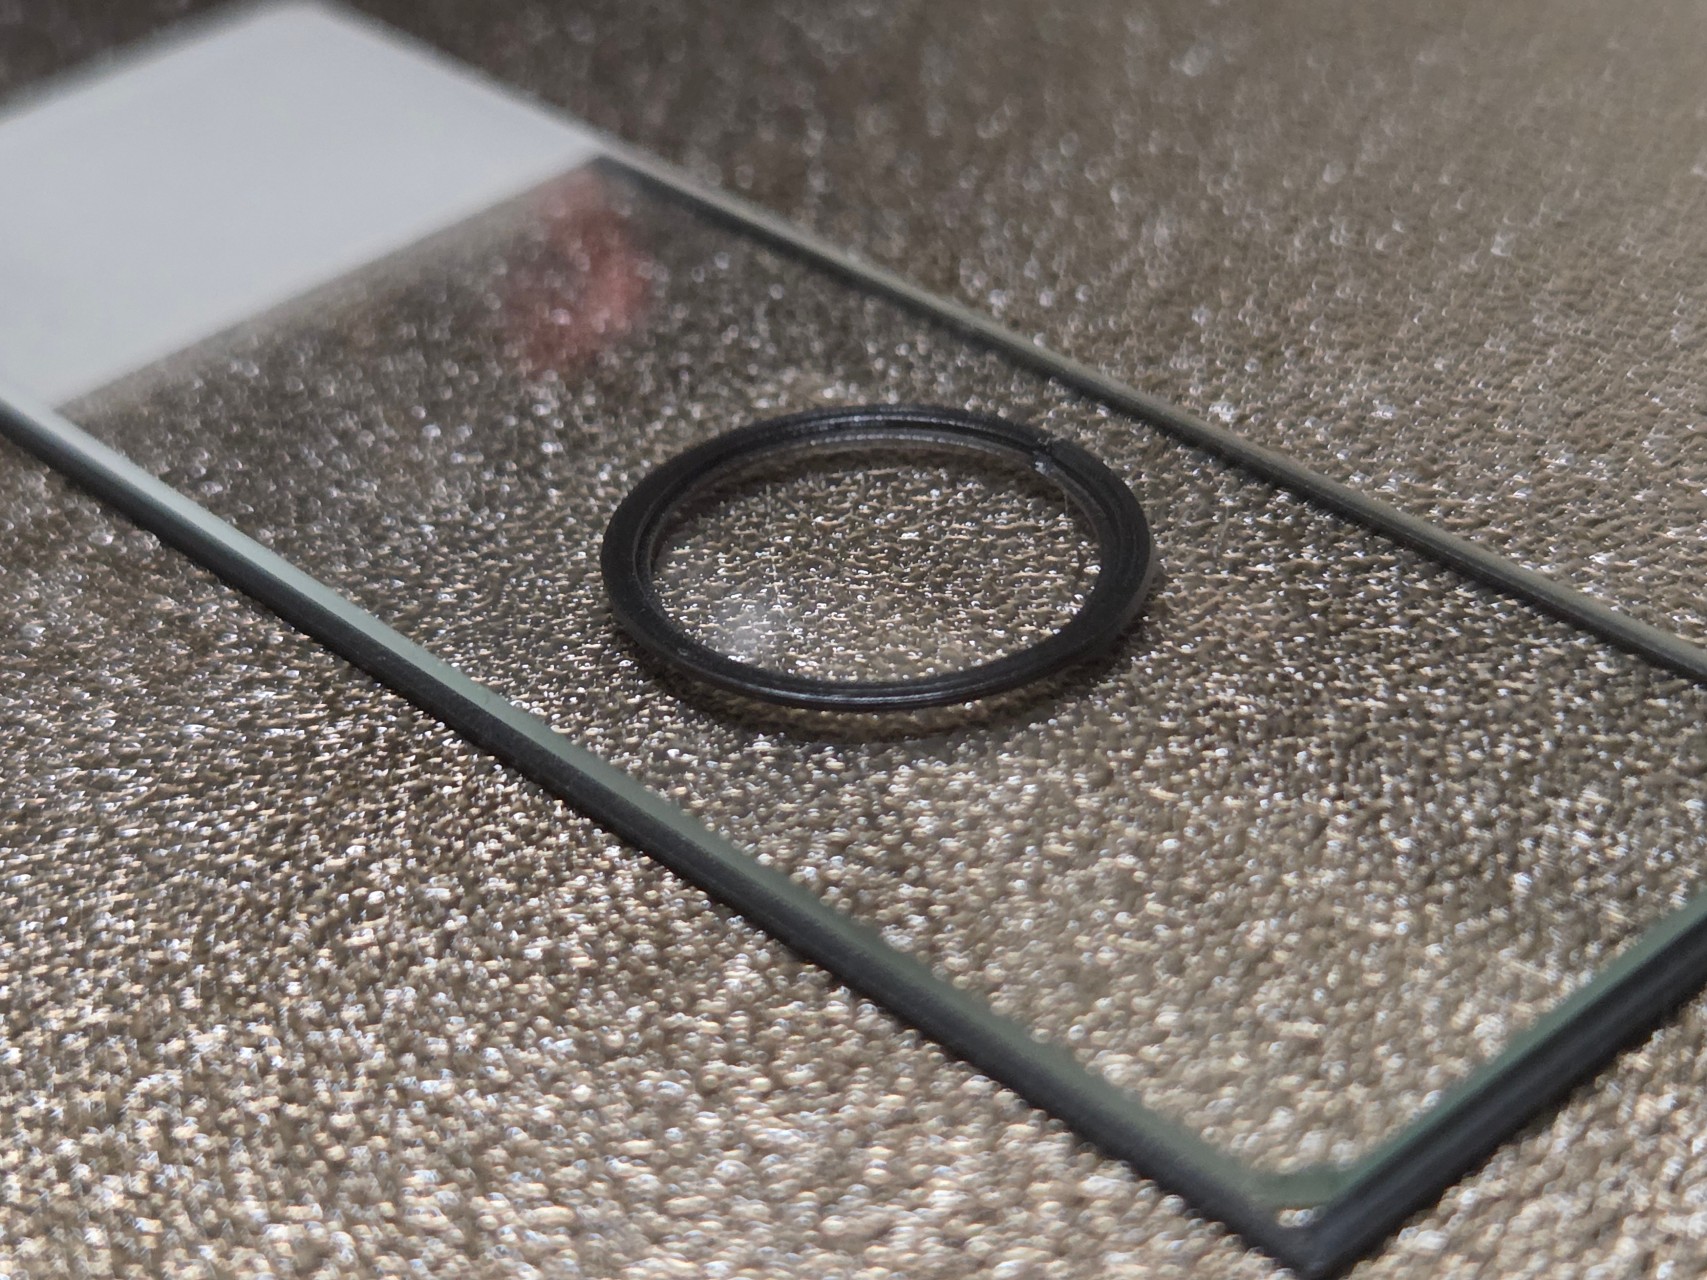
The ring creates a space between the object glass and the coverslip, allowing thicker specimens like insects and sand samples to be mounted.
Create your 3D model here
I’ve created a generic model of the spacer in FreeCAD and parameterized depth and diameter. Drag the sliders below to your liking and click the green download button to get a print-ready STL file.
Printing directly on the slide
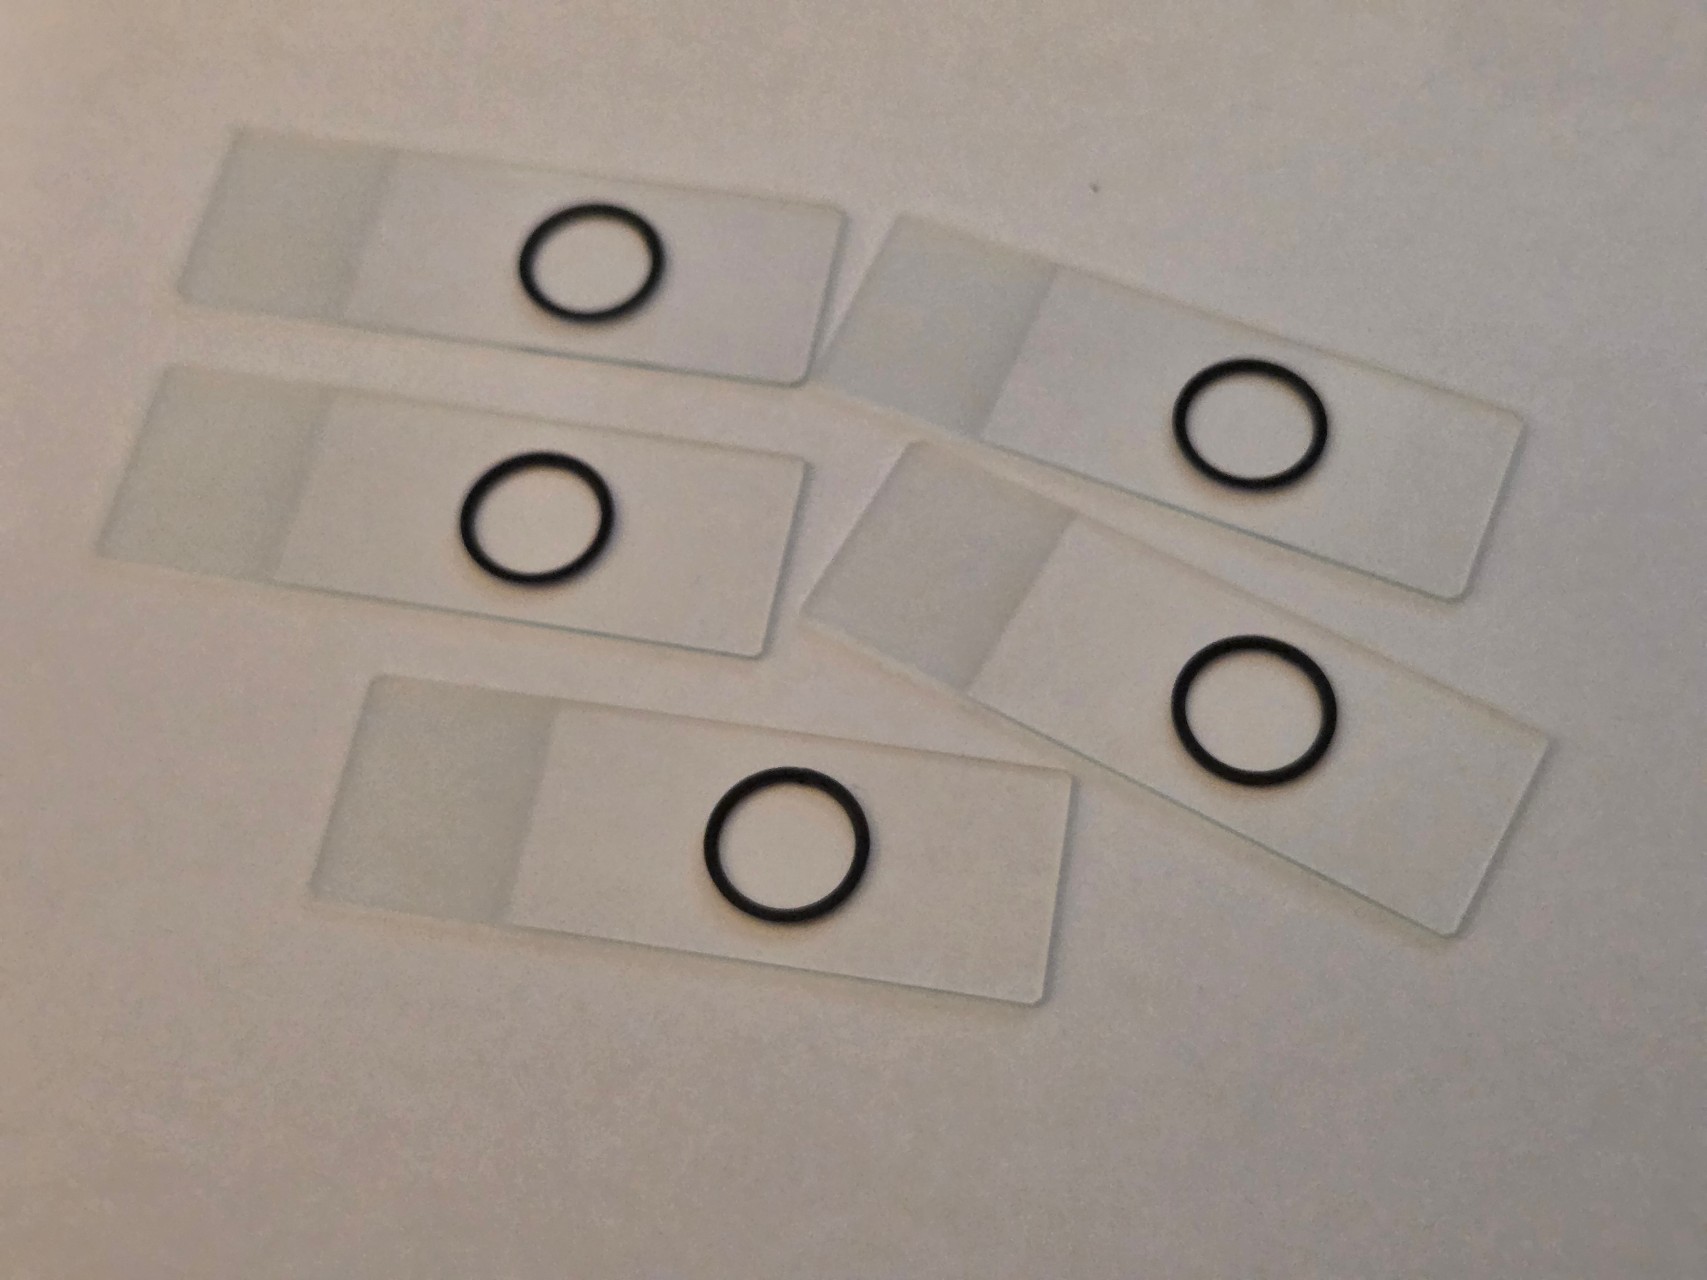
During the live video, subscriber @EverSmaller mentioned that it is possible to actually print the ring directly onto the slide.
Splendid idea!
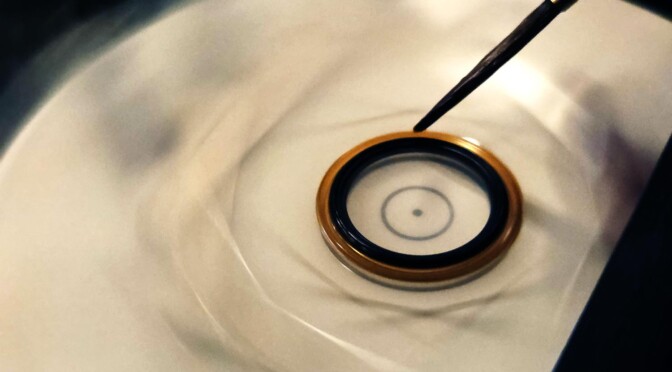
I’ve had great success trying this, although some gluing is still required, as the ring tends to loosen after cooling. To get it to stick properly, I used my electronic ringing table. Applying a ring of shellac around the spacer’s outer edge made it adhere firmly to the glass.
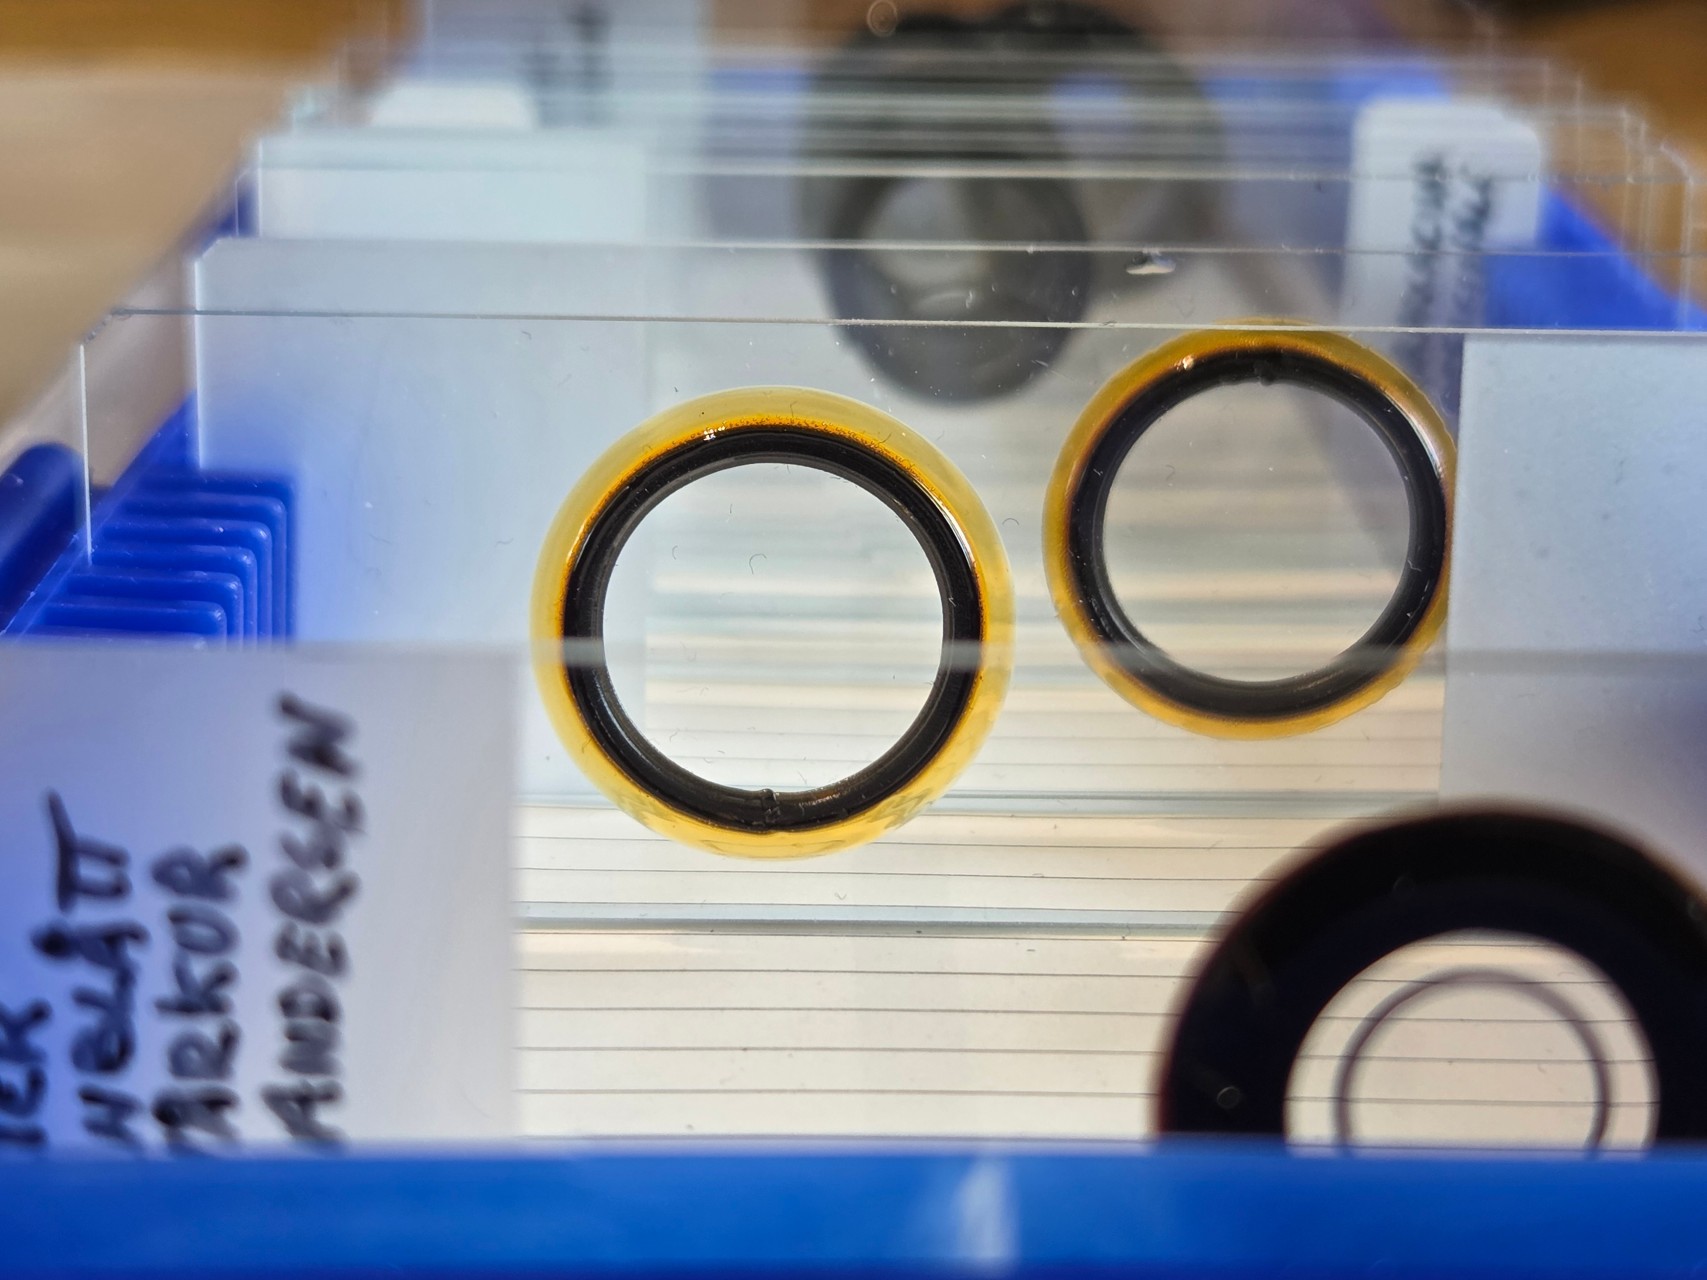
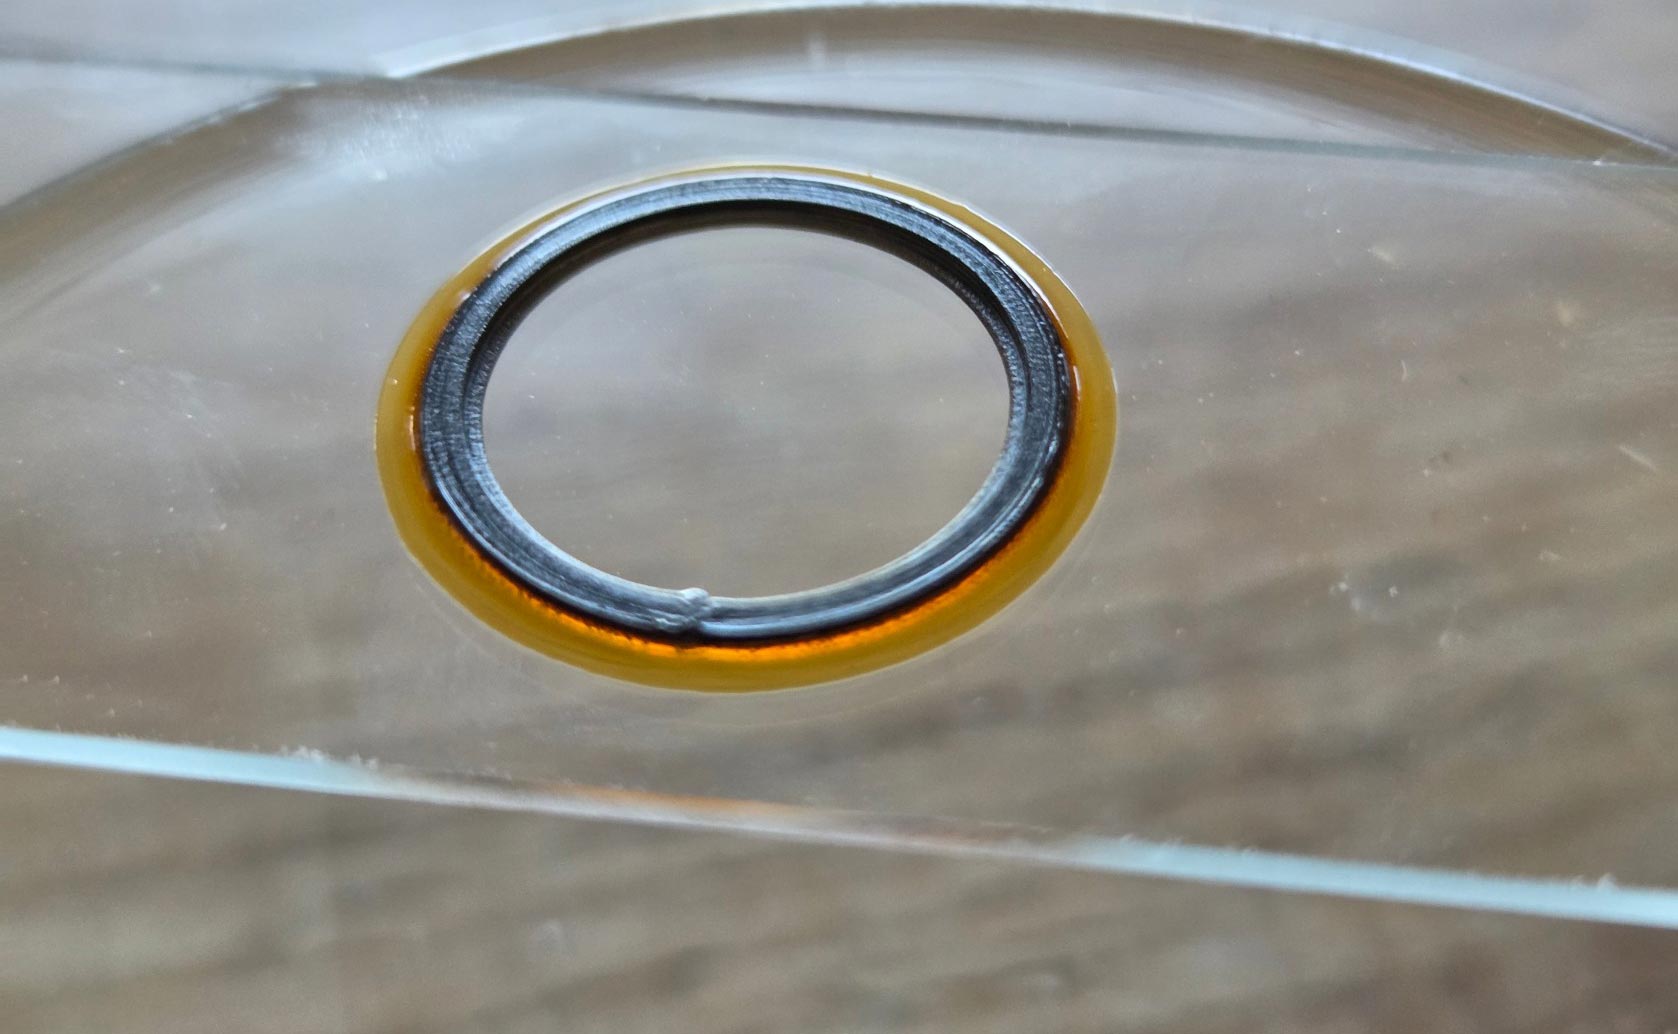
After placing the specimen inside the ring, I put the coverslip into the recess at the top of the ring. Applying another layer of shellac seals the well and makes it airtight.
Final stroke
Ideally, the slide then needs a couple of days to dry before I add the final layer of asphaltum. Since shellac dissolves easily in ethanol, adding xylene-based asphaltum significantly strengthens the seal. But remember: Only do this in a well-ventilated area!